


Cloud computing is the availability of resources, services, and tools to enable the quick and effective deployment and management of services and projects on the cloud.
Our article breaks down cloud computing and explains how OPTA service makes deployment easy and user-friendly.
OPTA
OPTA is an Infrastructure as a Service IaC that allows you to build/deploy on the cloud without knowing anything about the cloud deployment process.
OPTA works seamlessly and is more granulated for new users with its well-structured and streamlined code blocks. You can start, deploy, manage and observe your applications without learning much about DevOps.
OPTA supports all major cloud service providers, GCP, Azure, and AWS, and you can work directly with your cloud provider and deploy using OPTA or build locally and use the deployment files .yaml files to deploy.
Getting Started
To follow this article, you must install the following in your system. Still, before we dive into installing our tools,
Find the complete documentation on OPTA here.
Our article will begin by building locally and see how to deploy a website on docker, and then we will take our knowledge and deploy it on the cloud using OPTA
Perquisite
Docker Installation
Go to the link here and download docker for your machine. If you are using Linux, macOS, or Windows, you can install your preferred version, but for this tutorial, I will explain Windows and a bit about macOS.
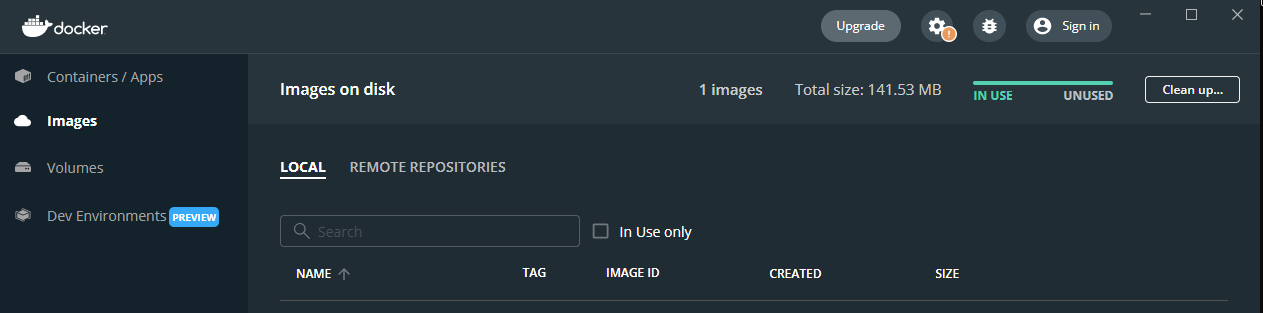
Notice we have Containers/Apps, Images, and Volumes .
Images: These are the environment that contains the underline software or OS of your choice that you want to build on.
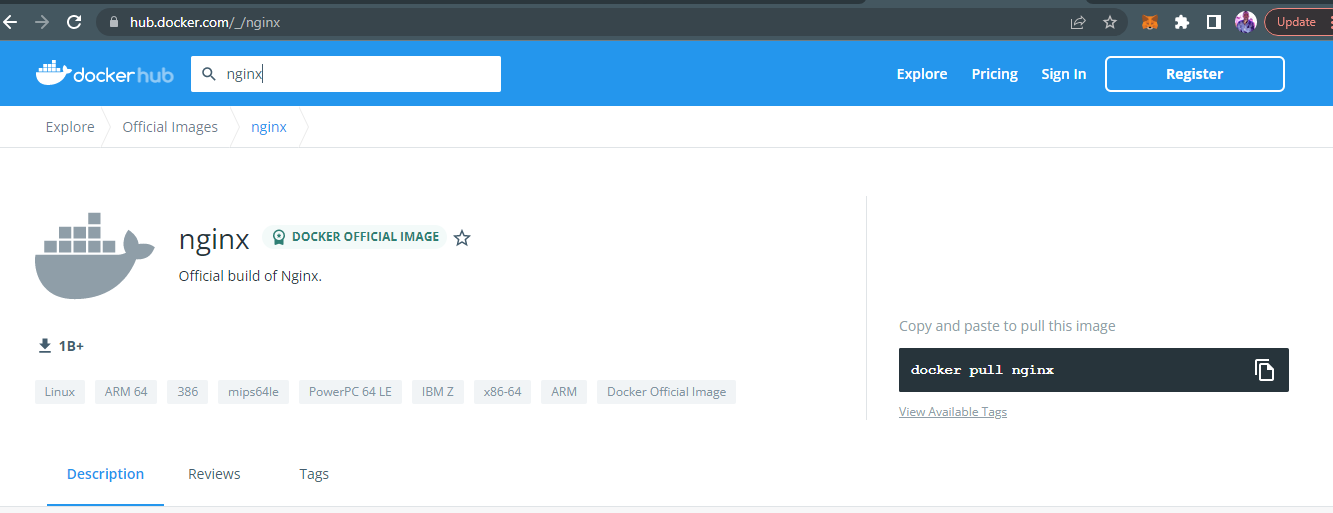
For this article, we will use Nginx, one of the most resilient and stable images. Let’s go over to Docker hub and download our image.
Make sure you have docker installed and running on your system.
We are going to open our terminal and run the docker — version to see what version we are currently on, I am running on version 20.10.13, but you might be running on a different version.

Next, we have to build our image, and we will build with docker pull nginx. It will install the latest Nginx image to our docker.
It might take some time so get a cup of coffee while you wait.
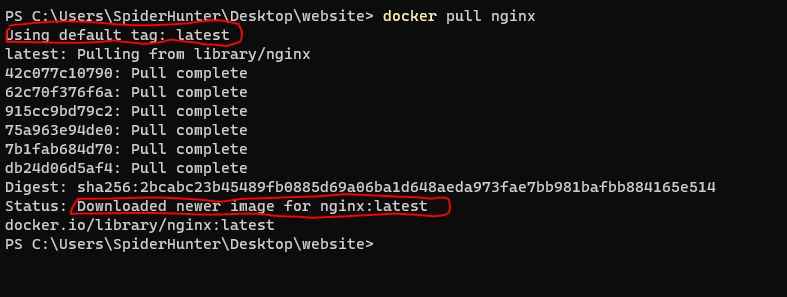
Notice that when we run the command, it pulls the latest version of the image since we did not specify a version of Nginx we wanted.
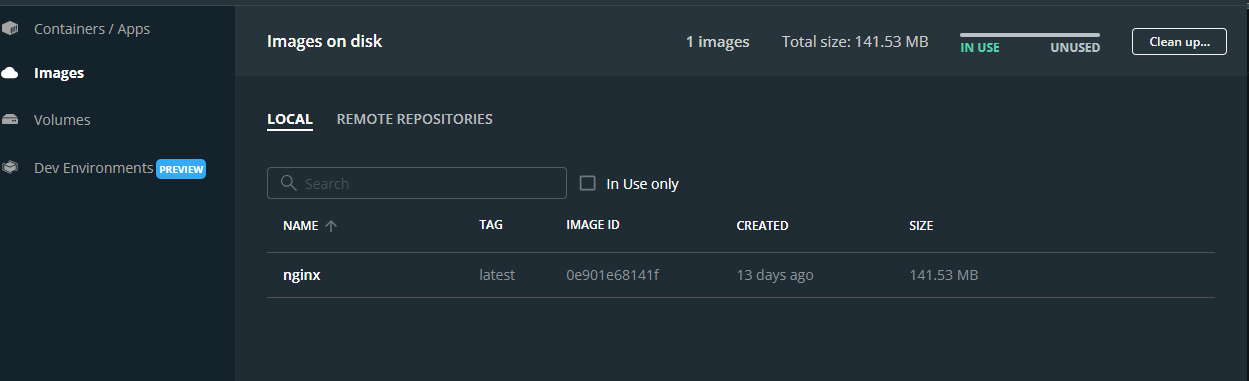
Open your Docker desktop, and you will see under Images that we have the Nginx image or run docker images on your terminal.

Containers/Apps: A container is a running instance of an image, so we take a snapshot of the image and build a container in which our application will run.
We have our image now; let’s run our container.
docker run —name myfirst_website -d -p 8080:80 nginx
After running this code, we see our new container has been created but let us break down our code block.
docker run builds on the image which is nginx
— name gives our new project a specific name we can remember as we do not want to an auto generated name.
-d runs the installation in detach modes so it does not show the logs.
-p maps our port 8080 to the nginx port 80
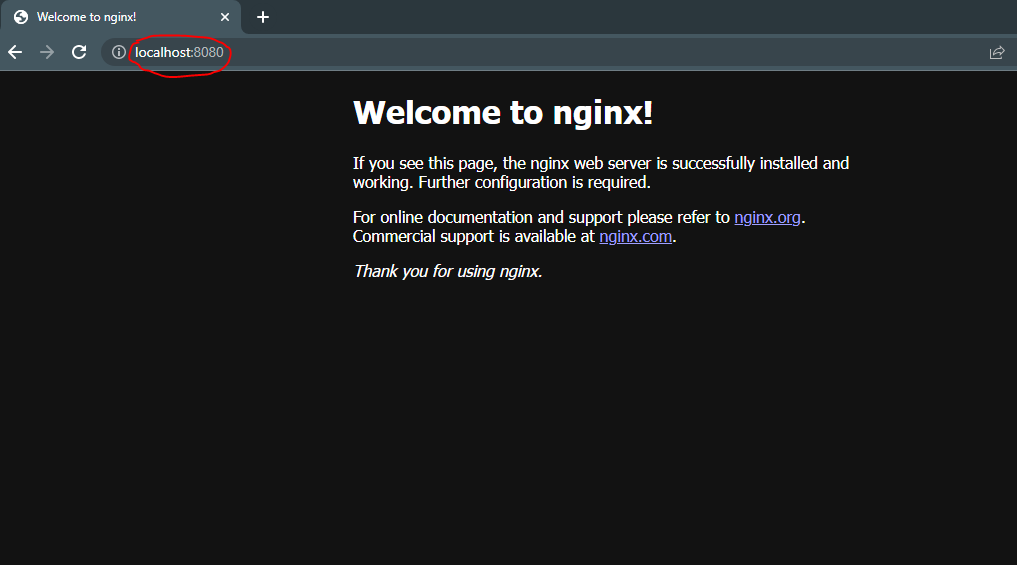
If you go to localhost:8080 you will see a default Nginx page.
Volumes are the files or applications we put in our containers, which is the most critical part of this tutorial.
We will pull the website we have created and move it inside the container. You can refill your coffee before you start this part of the tutorial.
I would be using a template-based website from here, you can download this template or anyone of your choice to your local computer, but if you have designed your website, you can go ahead and use it.

Before running the next line of code, please stop the container already running by docker stop myfirst_website and delete the container with docker rm myfirst_website
We are pulling it down so we can use the same port, although not really important as we can mount our container to a different port.
Let us now add our volume, which is our website like this
First, unzip if you downloaded a template or move your website files to a folder and navigate to that folder like so.
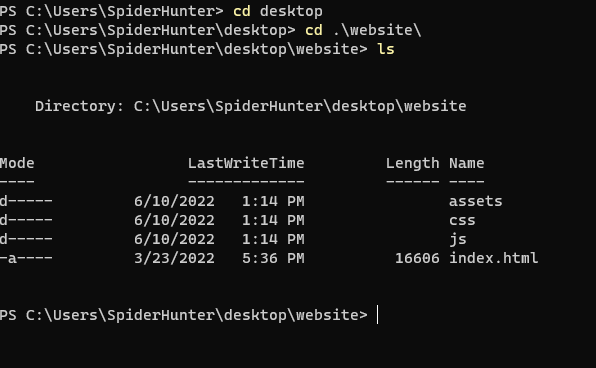
For windows, use the code below.
Remember to change the directory for yours.
docker run --name website -v C:\Users\SpiderHunter\Desktop\website:/usr/share/nginx/html:ro -d -p 8080:80 nginx
For Mac, use the code below.
docker run --name website -v $(pwd):/usr/share/nginx/html:ro -d -p 8080:80 nginx

Go to localhost:8080 to see if your website is deployed and working.
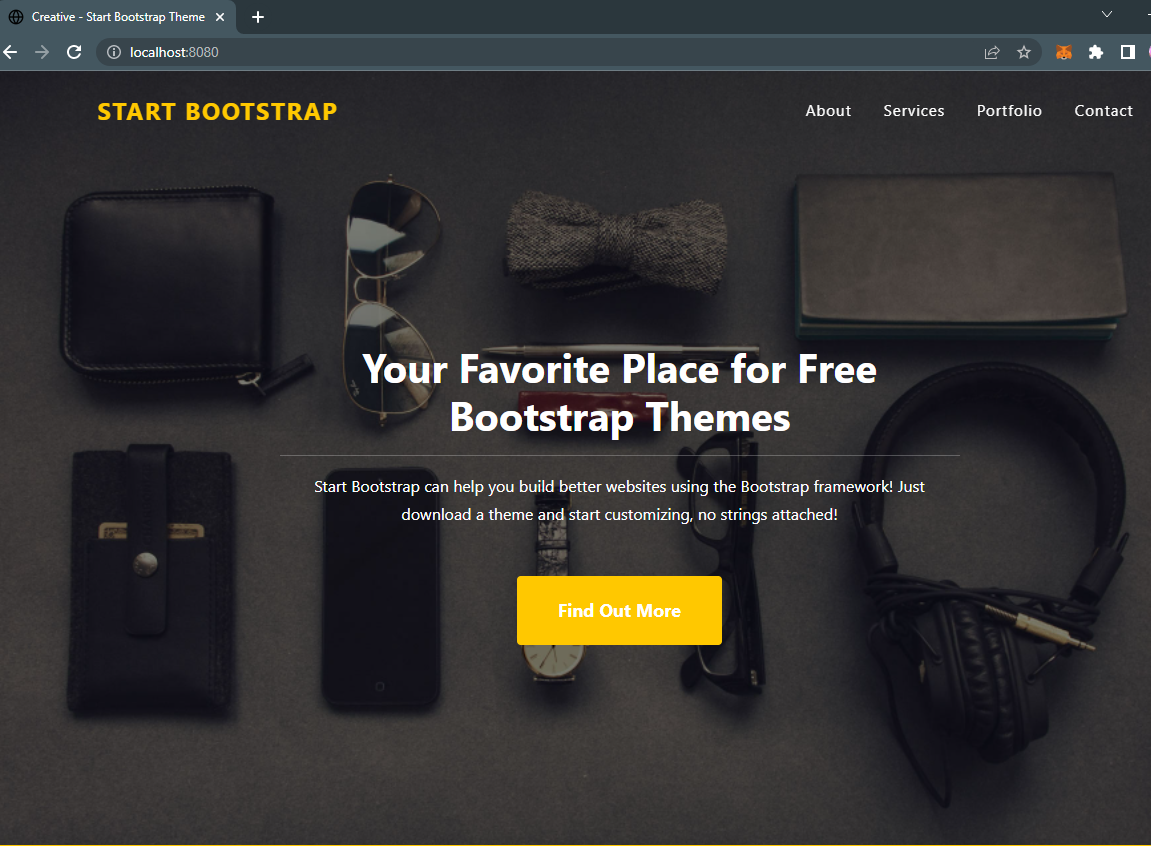
Voila, mine is working.
Let us use OPTA to deploy this to the cloud.
Deploy with OPTA
First, we will specify the cloud provider we will use, but I will use Google Cloud Service GCP.
To set up a GCP account, follow the link
Make sure you register and have an account on GCP before you continue.
You can upload your files to GitHub and clone into it from the terminal first, GCP will authenticate the connection.
gh repo clone name/repo

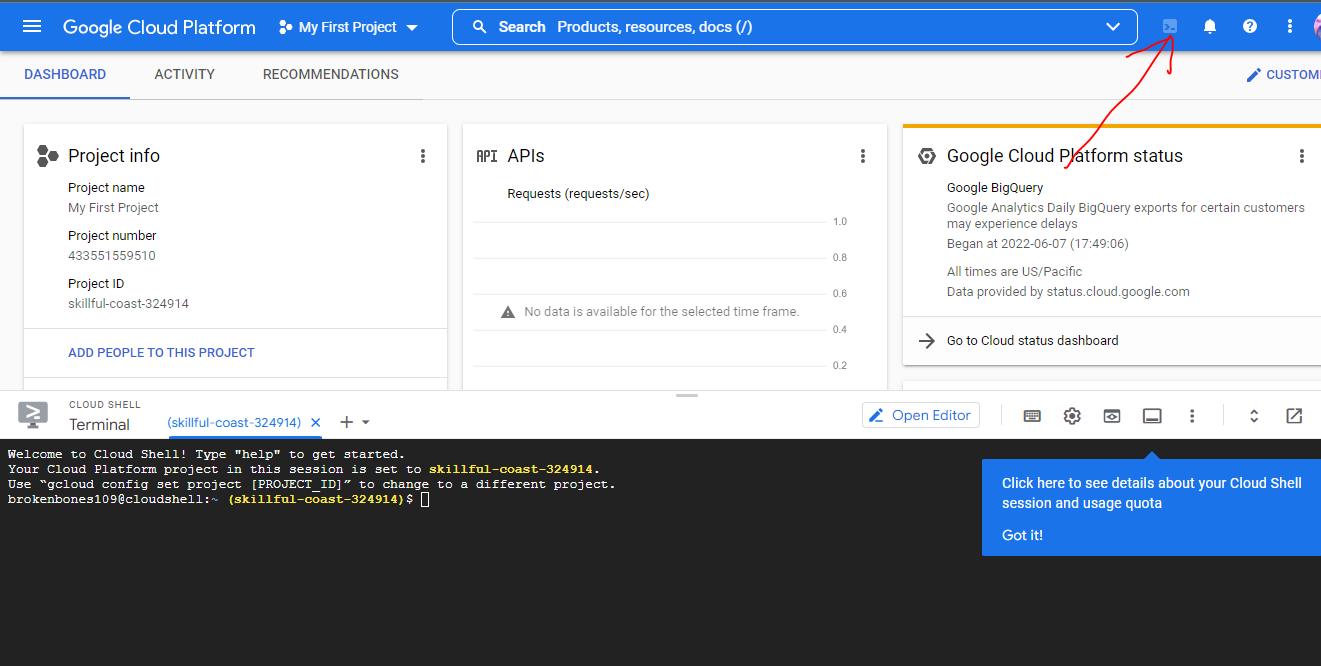
Click on the terminal console at the top right corner, and it opens a terminal below.
export ENV=[gcp]
We are saying that it should export our environment into the gcp. Platform.
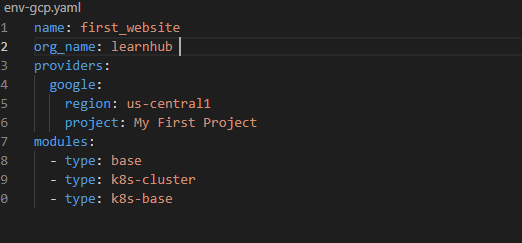
open env-${ENV}.yaml
This specifies where to change and add the information of the account and project name.
Let us deploy our service and push the image.
opta deploy --image nginx --config env-gcp.yaml --auto-approve --env $ENV
We used the opta deploy to push our image of nginx with our underline infrastructure to GCP, and we also set up and deployed the Kubernetes.
Notice you do not have to know any of these steps, Opta does all the underline structure and deployment.
Woooow.
Conclusion
We are done, you have successfully created and deployed a website on docker and deployed it on GCP using Opta.
Resources